DIY Landscaping: How to Create a Beautiful Garden with Local Aggregates


Understanding Local Aggregates
When it comes to DIY landscaping, using local aggregates can be a game-changer. Aggregates are materials like gravel, crushed stone, or sand, which are commonly used in gardens and landscaping projects. By choosing local aggregates, you not only support the local economy but also benefit from materials that blend naturally with the surroundings.
Benefits of Using Local Aggregates
There are several advantages to using local aggregates in your garden. Firstly, they are often more affordable due to reduced transportation costs. Additionally, local aggregates tend to match the natural colors and textures of the area, creating a cohesive and harmonious look in your garden. This can be particularly beneficial if you are aiming for a more natural or rustic aesthetic.
Furthermore, local aggregates can be more environmentally friendly. By sourcing materials locally, you reduce the carbon footprint associated with long-distance transportation. This makes them an excellent choice for eco-conscious gardeners looking to minimize their environmental impact.
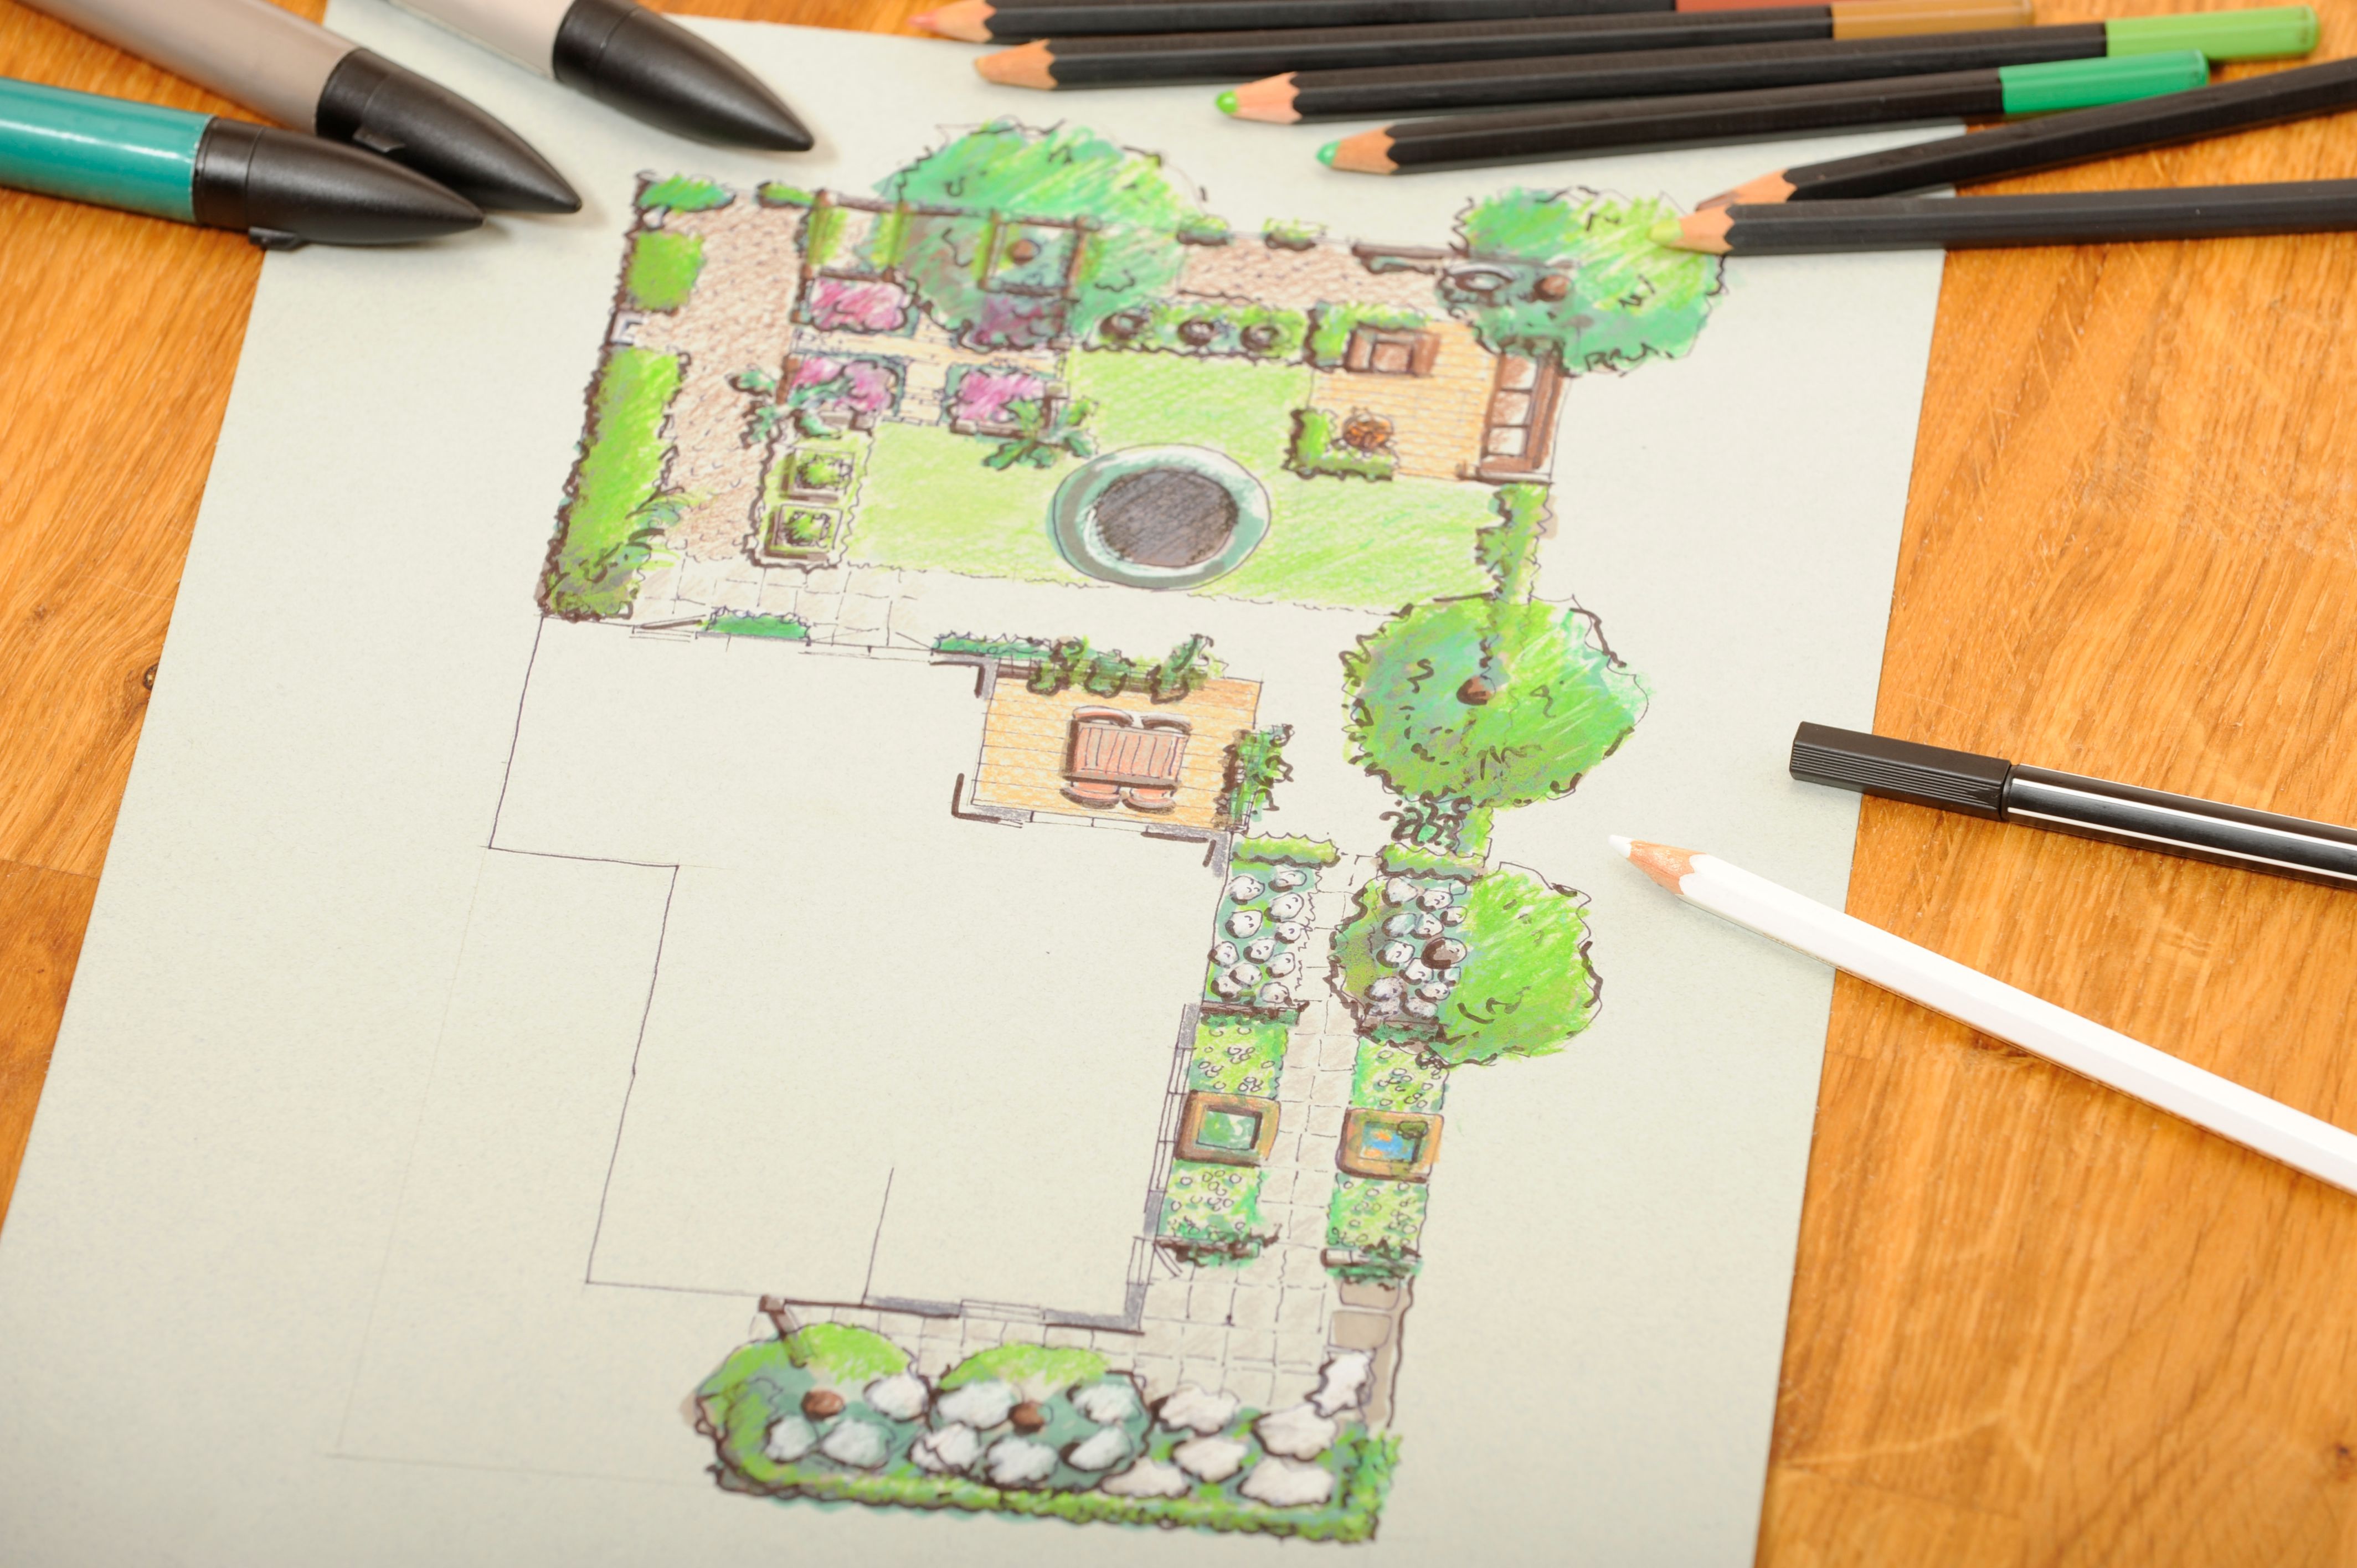
Planning Your Garden
Before you start incorporating aggregates into your garden, it’s crucial to have a clear plan. Consider the overall design and function of your garden. Do you want to create a new pathway, a decorative border, or perhaps a rock garden? Understanding your goals will help you choose the right type and amount of aggregate for your project.
Selecting the Right Aggregate
Once you have a plan, it's time to select the appropriate aggregate. Here are some common types of aggregates and their uses:
- Gravel: Ideal for pathways and driveways due to its durability and versatility.
- Crushed Stone: Perfect for decorative borders and as a base material for other landscaping elements.
- Sand: Useful for creating smooth surfaces and filling gaps between pavers.
Make sure to visit local suppliers to explore their range of aggregates. Seeing the materials in person can help you visualize how they will fit into your garden design.
Incorporating Aggregates into Your Garden
With your plan and materials ready, you can start incorporating aggregates into your garden. Begin by preparing the area where you will be using the aggregate. This might involve clearing debris, leveling the ground, or installing edging to contain the aggregate.
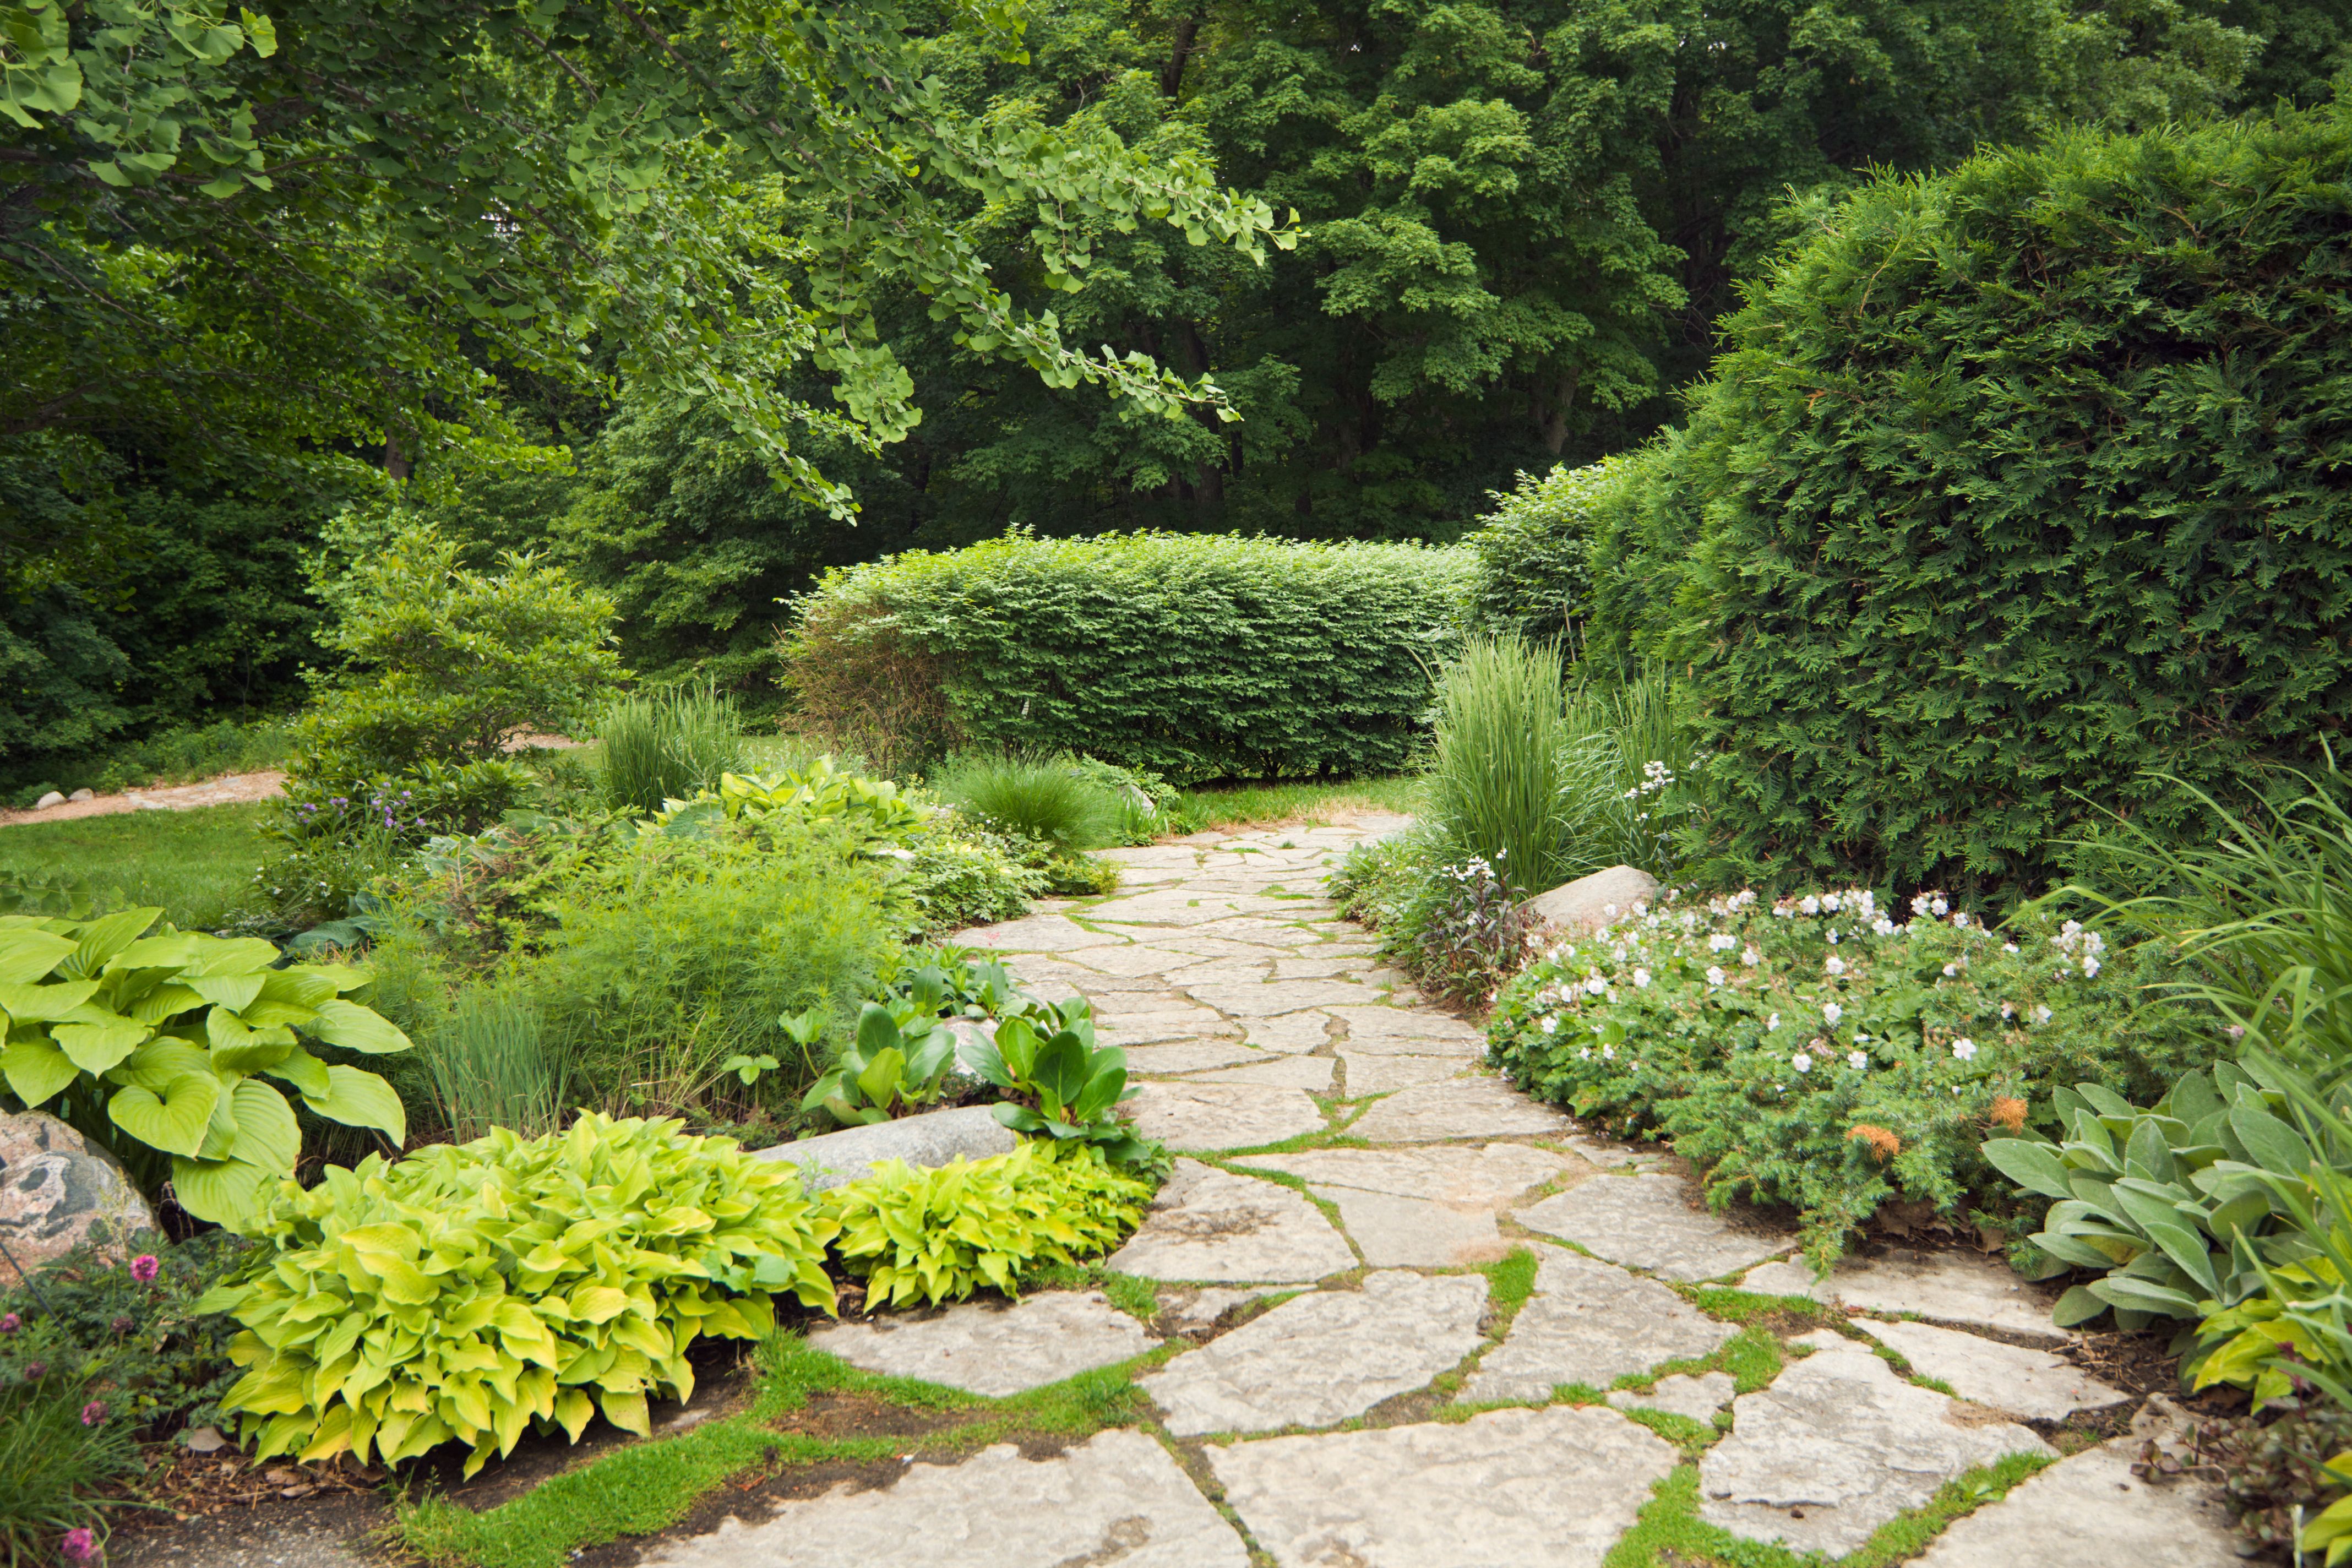
Installing Pathways and Borders
If you're creating a pathway, lay down a sturdy base layer of aggregate to ensure stability. For decorative borders, use aggregates to define different sections of your garden or to highlight specific plants. The contrast between aggregates and greenery can create a striking visual effect.
Remember to compact the aggregates once they are in place. This will help prevent shifting and maintain the integrity of your design over time. A rented compactor or simply a tamper tool can be effective for this purpose.
Maintaining Your Aggregate Features
To keep your garden looking its best, regular maintenance is essential. Periodically check for any displaced aggregates and refill areas as needed. Weeds may also try to make their way through, so consider using a weed barrier fabric beneath pathways or borders for added protection.
Additionally, rain and weather can cause aggregates to settle over time. A quick refresh with additional material can restore their appearance and function.
Conclusion
Creating a beautiful garden with local aggregates is not only feasible but also rewarding. By selecting the right materials, planning carefully, and maintaining your features, you can transform your outdoor space into a stunning and sustainable landscape. Embrace the natural beauty of local resources and enjoy the process of bringing your garden vision to life.